The days are stretching out, the daffodils are nodding their heads, and there is that unmistakable “fresh” scent in the air. It’s feeling like Spring has officially arrived in the UK and it’s the perfect time to hit the reset button on our sustainable habits.
Living a greener life doesn’t require a total lifestyle overhaul; often, it’s about aligning ourselves with the rhythm of the seasons. Here are a few simple, fun ways to embrace sustainability this spring in which you can find plenty of ‘simple’ happiness.
Share the Love with Plant and Seed Swaps
Why buy plastic-heavy seed packets or expensive plants when your neighbours likely have a surplus?
- Join a Swap: Look for local community centres or Facebook groups hosting “Seed Swaps” and “Plant Swaps”. If you are in the Three Rivers District check out the Sustainable Three Rivers website for upcoming dates for swaps.
- Host Your Own: It’s as easy as putting a table at the end of your driveway with a sign. “Take a seedling, leave a seedling.” It reduces plastic waste, cuts down on “plant miles,” and builds a wonderful sense of community right on your UK street.
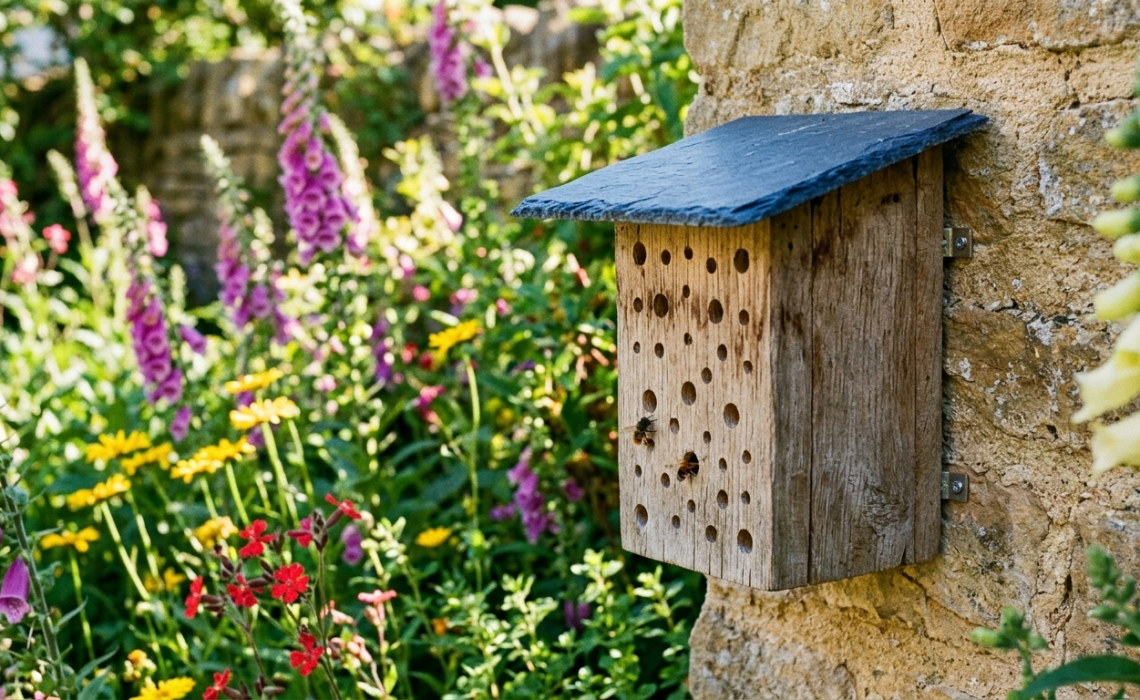
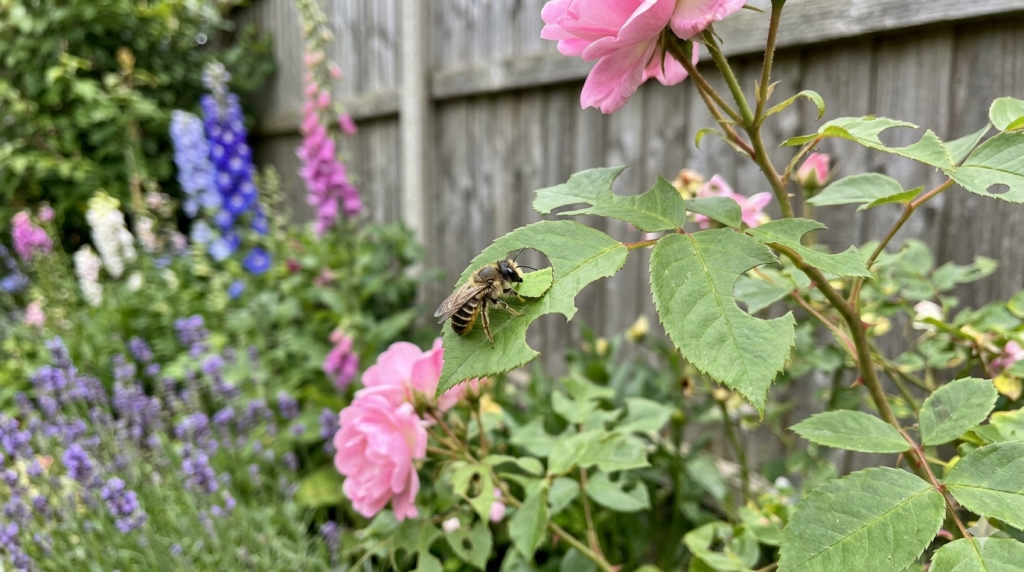
Welcoming the “Solitary” Stars
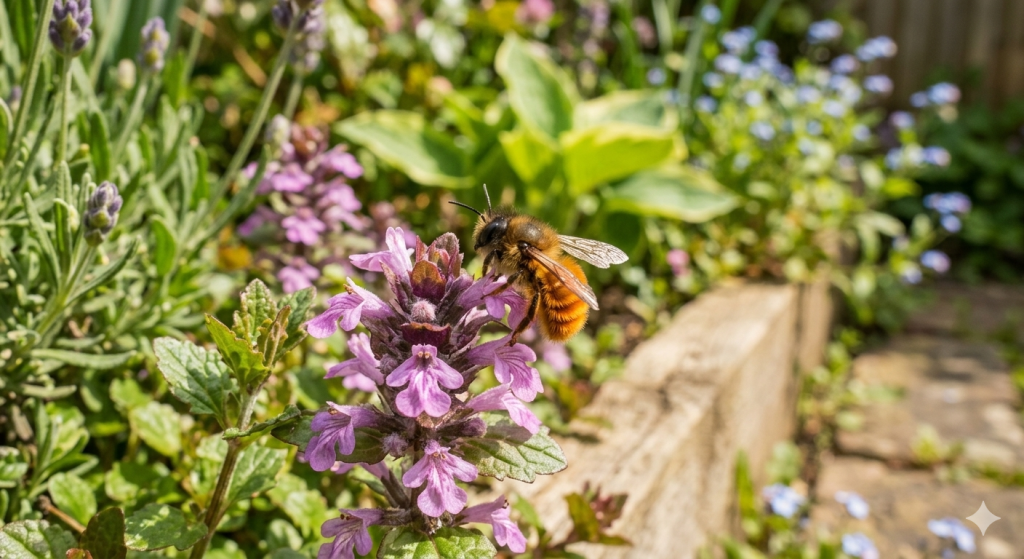
While honeybees get the fame, it’s the solitary bees (like Red Mason bees and the Patchwork Leafcutter bee) that are busy waking up right now.
They don’t live in hives, so they need individual “apartments” to lay their eggs.
Where to Buy Bee Hotels Sustainably: Skip the mass-produced versions and instead, look at the RSPB website online shop or Wiggly Wigglers. They prioritise FSC-certified wood and designs that actually work.
DIY It: If you’re feeling crafty, drill holes (varying from 2mm to 10mm) into a dry log or a block of untreated scrap wood. Sand the entrance holes smooth – bees have delicate wings! Full instructions below on how to make your own.
Spring Cleaning For the Birds!
Before the nesting frenzy begins, our feathered friends need a clean dining room. Old food and dampness can harbor diseases that are fatal to fledglings.
- The Routine: Empty your feeders and give them a good scrub with a weak disinfectant (or a vinegar-water solution). Ensure they are fully dry before refilling with a variety of seeds, nuts and suet.
- Location: Ensure they are placed away from easy “cat-snack” ambush spots!
The Hedgehog Awakening
As we move out of winter, our prickly friends are waking up from hibernation and they are hungry and thirsty. Hedgehog Health Check: If you see a hedgehog out in the bright midday sun, it’s often a sign they are unwell or dehydrated. Keep an eye out and contact a local rescue if they seem lethargic.
How to prep your garden for them:
- Hedgehog Highways: Ensure there is a 13cm x 13cm gap in your fence so they can roam between gardens.
- Check Before You Mower: Before that first spring mow or strim, check long grass and log piles for sleeping Hedgehogs.
- Water is Life: Put out a shallow dish of fresh water. Never give them milk – it’s actually toxic to them!
Spring is all about renewal. By making these small tweaks, we aren’t just tidying our gardens; we’re weaving ourselves back into the local ecosystem.
Every Click Counts: Fueling a Greener Future, One Story at a Time. Our planet whispers a plea for change, every day. Every small step we take – from reusable bags to conscious consumption – ripples outwards, creating a wave of hope. Let’s rewrite the story of our planet, one click at a time. Join me in making a difference. I believe in the power of storytelling. By sharing inspiring environmental initiatives and practical tips, I aim to amplify the voices making a difference. Imagine a world where everyone is empowered to take action, one small change at a time. Together, we can create that reality. Your support is more than just a donation. By clicking the “Donate” button (top right corner), you become a partner in this mission. Your contribution fuels this platform, allowing me to share even more impactful stories and empower a global community.
DIY Guide: The “Scrap Wood” Solitary Bee Hotel
A simple, 15-minute project to help our essential pollinators.
What You’ll Need:
- A block of untreated wood (an old fence post or a chunk of 4×4 is perfect). Ensure it hasn’t been chemically pressure-treated.
- An electric drill with various drill bit sizes (3mm to 10mm).
- Sandpaper (this is the most important part!).
- A small “roof” piece (a scrap of slate, an old shingle, or a slightly wider piece of wood).
Step-by-Step Instructions:
- The Drill Pattern: Drill holes into your block of wood. Aim for a depth of about 10cm to 12cm, but do not drill all the way through. Solitary bees need a “dead end” to feel safe and keep the wind out.
- Size Matters: Use different drill bits. Smaller bees like 3mm holes, while larger Mason bees prefer 8mm or 10mm. Space them about 2cm apart.
- The Smooth Finish: Use your sandpaper to thoroughly sand the entrance to every single hole. If there are any splinters or “burrs” left behind, they can tear a bee’s delicate wings, and they simply won’t use the hotel.
- Add the Roof: Fix your scrap piece of slate or wood to the top so it overhangs the holes. This keeps the rain out so the larvae don’t get damp and mouldy over winter.
- Location, Location, Location: Mount your bee hotel on a south-facing wall or fence in full sun. It needs to be at least chest-height and firmly fixed so it doesn’t swing in the wind.
💡 Pro-Tip
“If you don’t have a drill, you can pack an old wooden box or a clean tin can tightly with hollow bamboo canes. Just make sure they are cut cleanly and are blocked at the back end!”